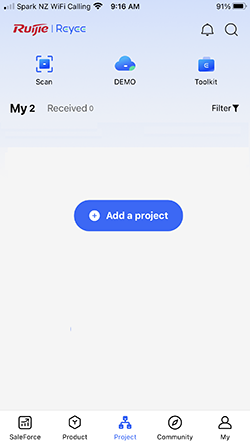
1. Download and open the Ruijie Cloud APP then turn off your device’s ‘Mobile Data’. Select ‘Create Your First Project’

2. Select ‘YES Connect to Wi-Fi’
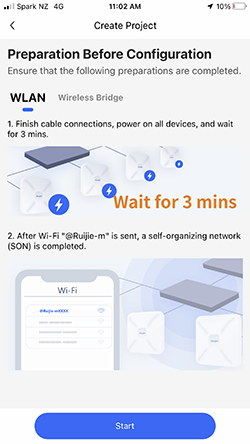
3. Connect the Router and turn on the power. Wait for 3 mins before selecting ‘Start’
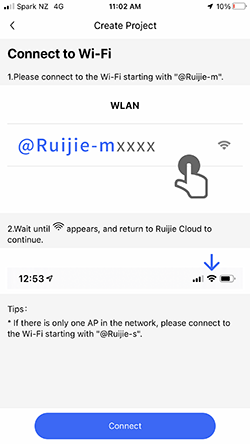
4. Select ‘Connect’
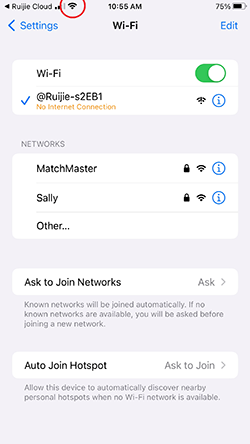
5. Select the Wi-Fi network starting with ‘@Ruijie-s and wait for the to appear at the top of your device.
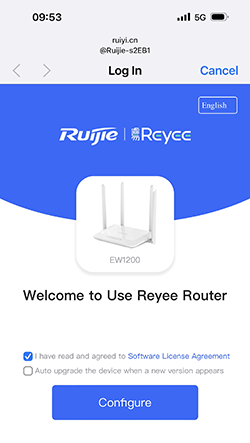
6. If the Ruijie Log In portal pops up, please ignore it and return to the APP to continue. If it repeats, check your ‘Mobile Data’ is turned off.

7. Select ‘Yes. Continue’ if you are only installing one AP, then wait whilst the system auto detects.
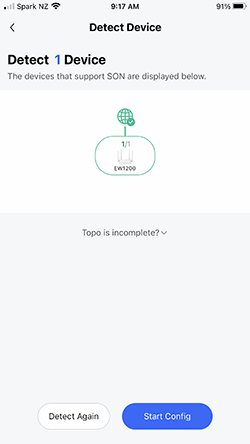
8. Once you have the Topology displayed select ‘Start Config’

9. Create a Project Name and Password, all with no spacing, then select the correct ‘Scenario’
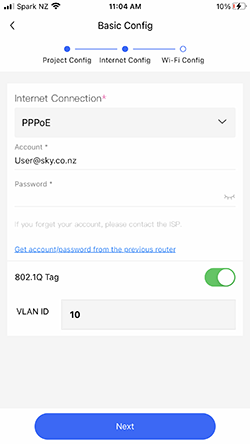
10. Select the Internet Connection type, normally ‘DHCP’ or ‘PPPoE’ If your provider is using PPPoE, enter the providers username and password. Turn the 802.1Q tag ‘on’ if using a VLAN above ‘1’ and enter the appropriate VLAN number for your provider.
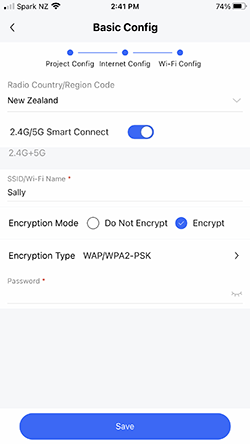
11. Create the SSID (Wi-Fi Name) and Password then choose the country and select ‘Save’ then wait whilst the network is configured.
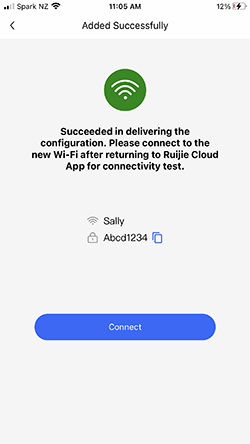
12. The Wi-Fi SSID and password should be displayed. Select ‘Connect’ to take you to your device
Wi-Fi setup to connect to the newly created Wi-Fi network.